Art Thief: Draw a petunia
Welcome to our fifth summer of weekly Art Thief lessons. We hope you will join us in drawing this petunia.
This summer, Art thief celebrates 5 years of “stealing” great drawing tips. Let’s get started with this easy petunia.
1. Start your petunia drawing with an oval, then put a star in the center. Keep your pencil lines light at this stage. Notice that the stems of the flower and buds are gently curved. The cone shape you see connecting the stem to the oval is the throat.
2. Draw a curved line from each point on the star to the edge of the oval. Your petunia now has five petals. Now you can add the sepal beneath the throat of the petunia. There are two buds on the smaller branch. Add a sepal beneath each of them.
3. The edge of each of the 5 petals is shaped like a bracket. If you are not familiar with this shape, try making a few practice ones. I’ve included two brackets in the pink box below. Now you can add tone to the petals.
4. Carefully erase the lines inside the star. Indicate the top of the flower’s stigma with three little circles. As you draw the fine veins on the flower, try to follow the curve of the petals. Notice how the lines are shortest in the middle of each petal? The leaves get veins, too.
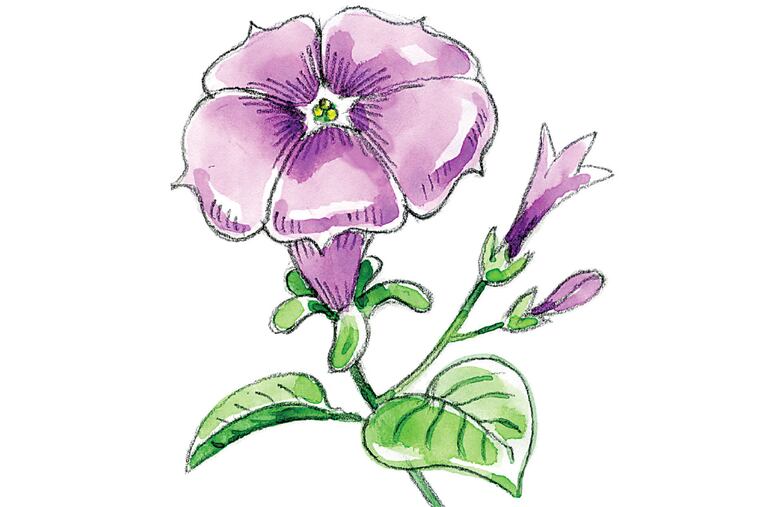
5. Gently erase any extra lines before you add color. Notice how the flower is darkest around the star. If you are using watercolor, don’t be afraid to leave some small areas white. This adds sparkle.
Send in a photo of your petunia drawing.
Email art to:
art@phillynews.com
Or mail to:
