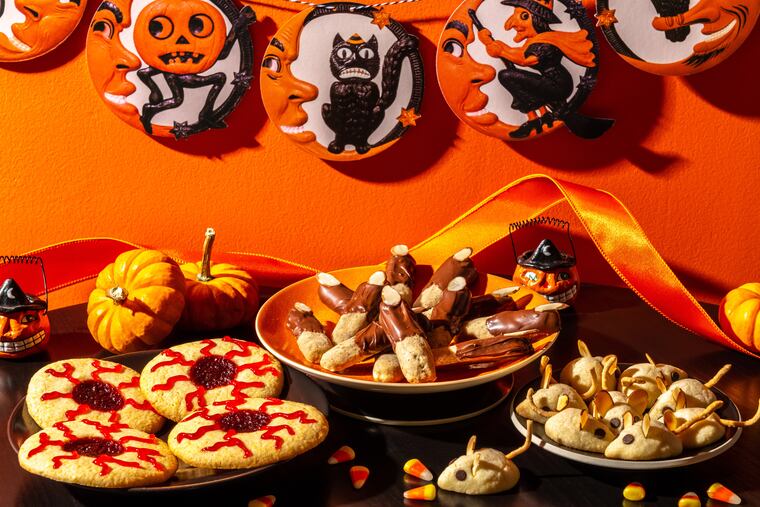
Halloween at home? Here are some tricks for making treats with kids
With a full Saturday to play, let the kids create a Halloween party at home and make their own sweet treats.
Halloween falls on a Saturday this year. That’s every kid’s dream, right? No school the next day, so they can trick or treat, go to haunted houses and … But this is 2020 — a year that feels as if it is determined to suck the joy out of every occasion.
Due to the coronavirus pandemic, some communities are discouraging the traditional door-to-door candy runs, many haunted houses and festivals have been canceled or curtailed, and even costume sales are down, but that doesn’t mean we can’t decorate and create spooky fun at home.
With a full Saturday to play, why not let the kids create a Halloween party at home by making their own sweet treats?
The Centers for Disease Control & Prevention offer tips for low-risk activity ideas, including hosting a “Halloween scavenger hunt” outside, where children look for Halloween-themed items, like jack-o'-lanterns, and admire neighbors' decorations; or inside where items are hidden around the house. [If you do plan to trick-or-treat, the CDC recommends “one-way trick-or-treating where individually wrapped goody bags are lined up for families to grab and go while continuing to social distance (such as at the end of a driveway or at the edge of a yard).”]
And here’s a pro-tip: If your goal is to make your own treats, make sure some of the recipes you select are ones you already know will turn out well.
Here are a few general tips:
Have a plan: Be sure you have a height-appropriate working area for the child. Then, carefully read the recipes and decide how the child can assist. Think about a kid’s attention span when picking a task. A younger child may simply add the noodle tail and chocolate chip eyes to the mice, for example. An older child may be able to help mix doughs and shape the sweets before baking.
Take your time: The process should be fun. The child is learning new skills with you as the teacher. If children are too young to be hands-on throughout, let them watch what you do. Read the recipe together. Taste ingredients together. Measure together. Explain each step as you go. Does this mean cookies you could whip up in 20 minutes might take a bit longer? Definitely.
» READ MORE: Oh, boo, a Halloween without trick-or-treating. Here are some fun Philly family alternatives.
Forget perfect: Do you do things exactly right the first time you try them? Neither will kids. This is the time to laugh at mistakes and talk about what you learned from them, so you help little ones build confidence and skills.
Clean up together: Once the sweets are in the oven, it’s time to clean. Encourage kids to put the various ingredients away, wash dishes, and wipe counters.
And, if you’re unable to share the holiday with family or friends, take pictures and share them, so everyone can enjoy the sweet memories you are making.
Caramel Apples
1 hour 15 mins
6 servings
Recipe notes: An instant-read thermometer, ideally one that can be clipped to the side of the pan, is necessary for this recipe. You’ll have extra caramel, which you need to have plenty of space to dip. Store in the refrigerator and reheat to pour over ice cream or any other dessert.
You’ll need six 5- to 6-inch candy sticks, wooden dowels or paper lollipop sticks. Popsicle sticks or, in a pinch, chopsticks will work, too.
Ingredients
2 cups granulated sugar
½ cup water
¼ cup light corn syrup
½ cup heavy cream
2 tablespoons unsalted butter
½ teaspoon vanilla extract
Pinch kosher salt
6 medium very crisp apples (such as Honeycrisp, Red Delicious, Pink Lady or Granny Smith), well washed and dried
Finely chopped peanuts, desiccated coconut, crushed candy or other topping of choice (optional)
DIRECTIONS
In a tall-sided, small saucepan over medium-high heat, combine the sugar, water and corn syrup. Stir a few times before the sugar begins to boil to combine the ingredients. Attach a candy thermometer to the inside of the pan (or monitor often with a handheld instant-read thermometer) and bring the syrup to a boil. Cook until the syrup begins to turn a deep amber color, then swirl the syrup to even out the color. Continue to cook until the syrup is a deep amber and the thermometer reads between 375 and 380 degrees, then remove from the heat. Be patient, as this can take as long as 20 minutes - just don’t look away because the caramel can burn quickly. Carefully and gradually pour in the cream and gently whisk to combine. It will bubble vigorously, so you may want to stand back a little (you can use an oven mitt, too, to protect your hand from the steam). Stir in the butter, vanilla and salt until smooth. Keep off the heat but keep the thermometer attached to the pan.
Pierce the apples through the stem ends about halfway through with the candy sticks. Line a large, rimmed baking sheet with a silicone mat or parchment paper lightly sprayed with nonstick cooking spray.
When the temperature of the caramel dips to between 180 and 190 degrees, dip an apple, using the stick as a handle and coating completely. Try to move the apple around as little as possible in the caramel to prevent air pockets or bubbles from forming. Instead, tip the caramel around the apple. Let the excess caramel drip off the bottom and use a silicone spatula to help remove any large amount of caramel, as it will pool around the apple when you set it down to cool on the lined baking sheet. Dip the coated apples in your choice of topping, if desired. Repeat with the remaining apples; if the caramel gets too thick for dipping, gently reheat on the stove top over low heat, back up to around 180 degrees, stirring constantly.
Transfer the baking sheet to the refrigerator to let the caramel set and cool completely before serving or wrapping the apples, about 30 minutes. At that point, the apples can be eaten or stored in the refrigerator for a few days; let the apples come to room temperature before serving, for a slightly softer texture.
Adapted from a Food Network recipe.